
How is it made?
The customization, step by step
At first, the surface of the shoe needs to be carefully degreased to ensure optimal adhesion of the paint.
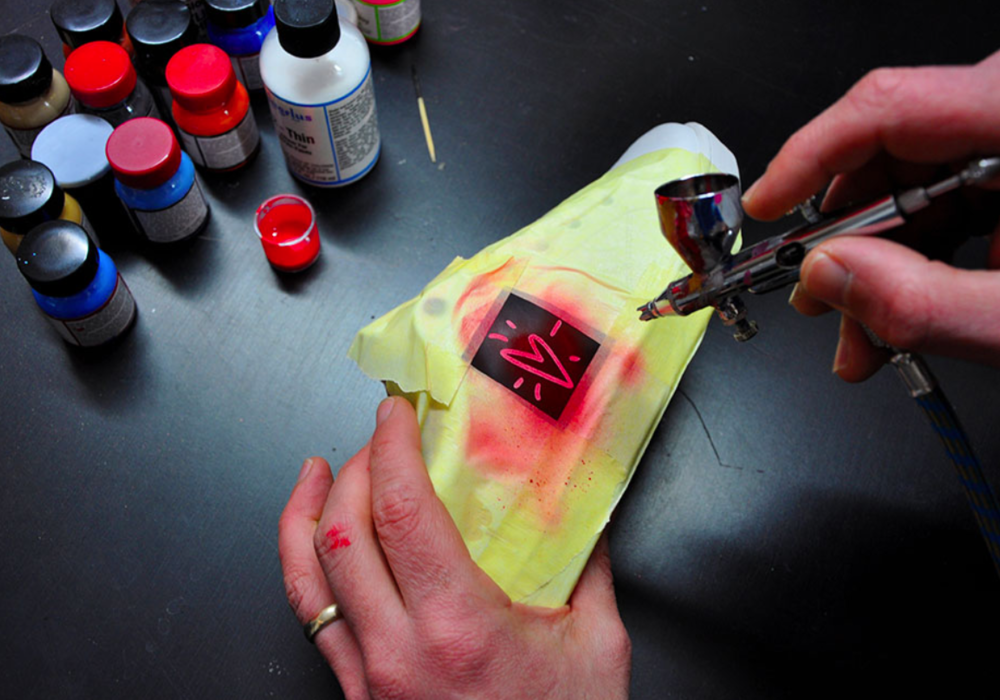
Then comes the crucial step of the stencil: cut with precision, it is applied meticulously to avoid burrs. Whether it’s geometric shapes, logos or complex drawings, every detail has its importance.
The application of paint is a game of patience and finesse: in several light coats realized with airbrush, it gradually reveals the drawing. Once the paint is dry, carefully remove the stencil reveals the concept art.
Finally, the application of 3 layers of varnish, with a drying time of 6 hours between each layer, ensures protection and longevity of this unique creation.